
How to Apply a Vinyl Decal
Part of our business that usually goes unlisted and instead relies on word-of-mouth is our ability to make vinyl decals. I’ve outfitted five different salon suite doors in Tennessee with professional logos, I’ve crafted classroom decals for my former coworkers, there have been a few car decals, I even labeled some of my daughter’s school supplies with decals so she doesn’t have to deal with written-on labels washing off.
So far, everyone we’ve sent a logo or decal to has loved them, but everyone pretty much has the same question - how the heck do you put it on? It’s actually really easy to get a vinyl decal on, although it can look intimidating if you’ve never seen one applied before. All you need is your decal, some painter’s tape, and a scraper!
Step 1) Line up your Decal
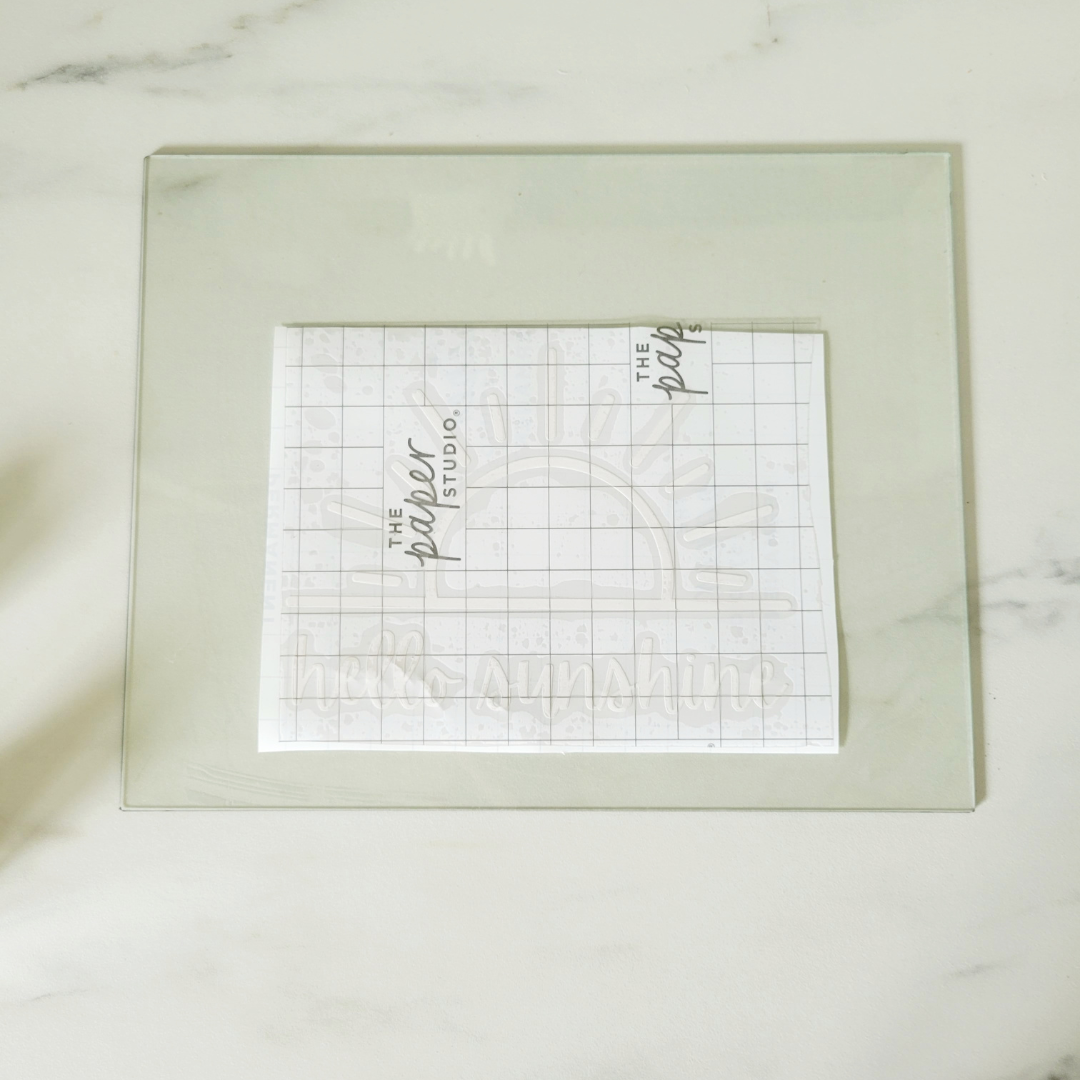
With both the backing and the transfer paper still attached, line up your design in the exact place you want it. This part is quick but important. It ensures you have the space on your chosen surface for your decal and gives you an idea of what it will look like once it’s placed.
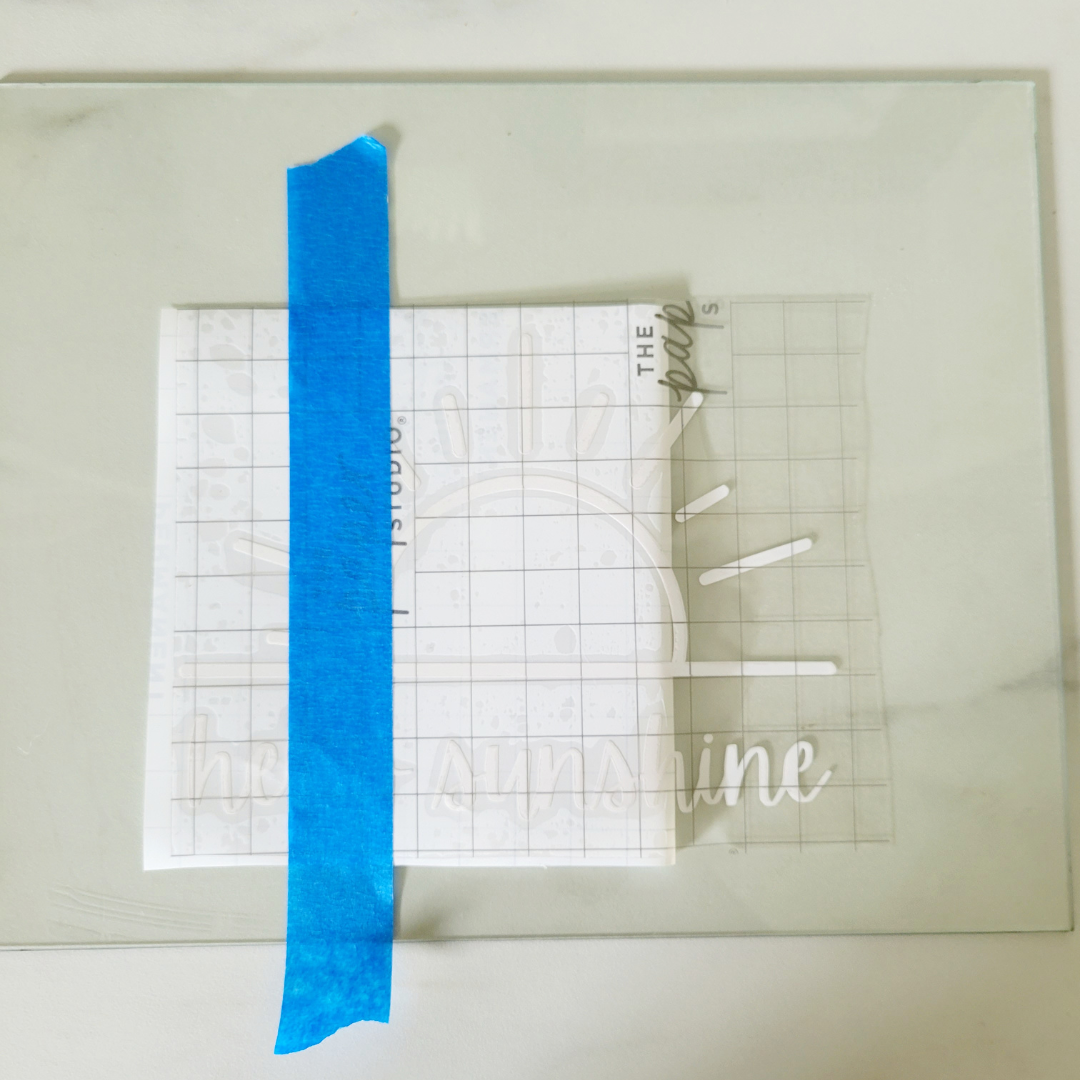
Step 2) Tape your Design in Place

Grab your painter’s tape, or masking tape if you don’t have the blue stuff handy. While the design is still where you want to apply it, place the tape on top of the transfer tape and extending over onto your surface. This will hold your design in place as you apply it.
Step 3) Apply Part of Your Decal to Your Surface
Remove part of the backing from your decal and apply just that part to your surface while keeping the decal taped to the surface.
Step 4) Remove the Backing from Your Decal

This step requires a bit of patience. Remove the painter’s tape and lift your decal to remove the rest of the backing, but make sure you don’t remove the part of your decal that you applied to your surface in the previous step.
Step 5) Apply Your Decal
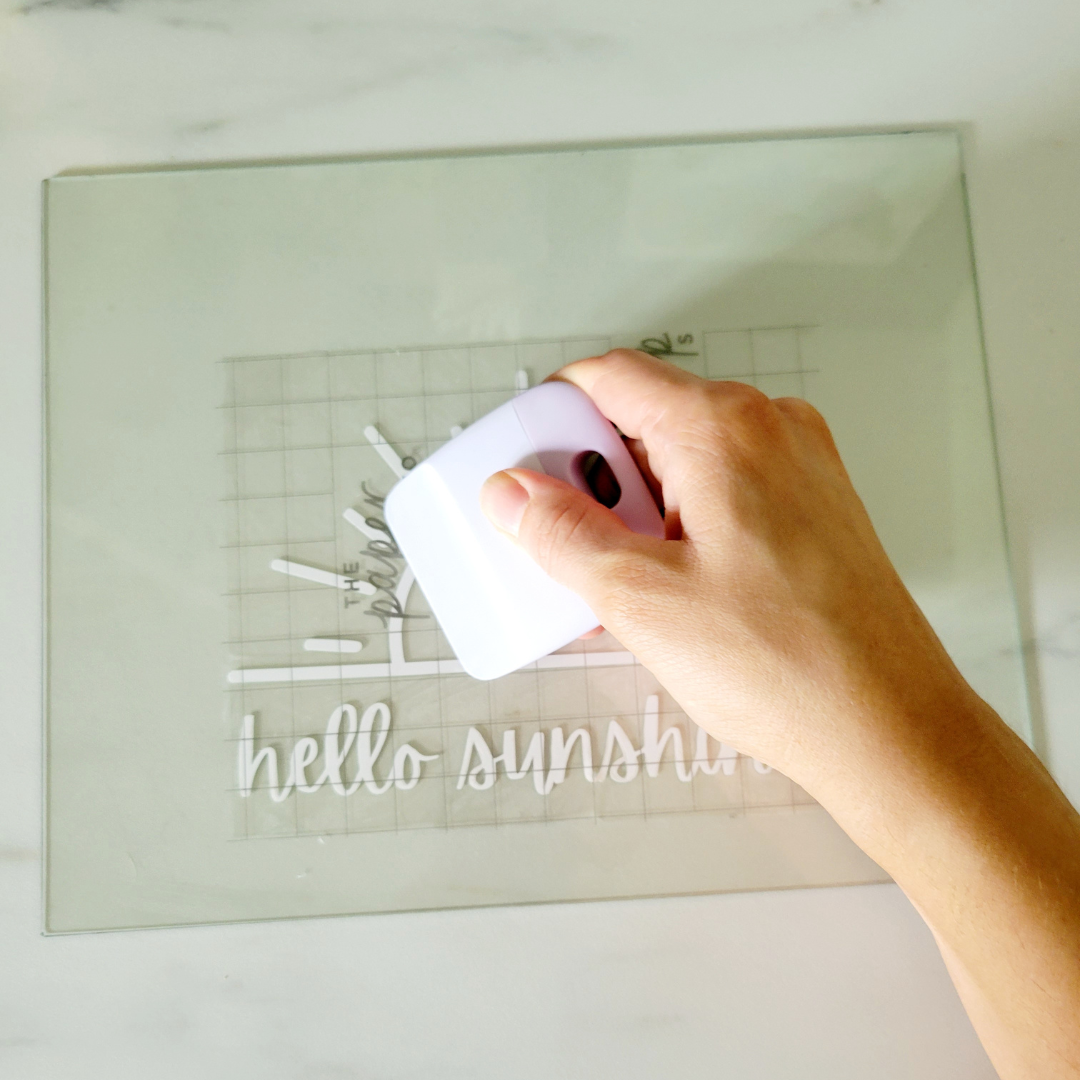
Use a scraper to apply your decal, pressing over all pieces of the design to make sure everything is properly adhered to your surface. If you don’t have a scraper, no problem! Any flat edge will work to apply your decal - I’ve used a credit card, a screen-printing squeegee, and a ruler before.
Step 6) Remove the Transfer Tape

Pull your transfer tape off your design slowly and parallel to your surface. If you pull the tape up instead, your decal will likely go with it and it will pull right off your surface. Pulling the tape off parallel to the surface will allow your decal to stay in place. If it does start pulling up, just use your scraper or whatever tool you used in the previous step and run it over that spot on your transfer tape before trying to remove it again.
Step 7) Admire your Decal!

You did it! At this point, I’m usually paranoid about my application process so I run over my design once more (gently!) with my scraper to make sure all the pieces are applied properly. Don’t stress about this part, just enjoy your decal!
